How to Repot a Plant Step-by-Step
Give Your Plant Room to Grow: A Stress-Free Repotting Guide
Repotting my first Monstera deliciosa was intimidating, but the burst of growth that followed was worth it. Repotting refreshes depleted soil and provides essential root space.
Signs Your Plant Needs a New Home
- Root-Bound: Roots are growing out of the drainage holes or circling densely at the soil surface.
- Rapid Drying: The plant needs water every other day because roots fill the pot.
- Stalled Growth: No new leaves during the growing season.
- Salt Buildup: White crust on the soil or pot rim from fertilizer minerals.
Choosing the Right Pot and Soil
Pot Size: Only go up 1-2 inches in diameter. Too large a pot holds excess wet soil, causing root rot. Material: Terracotta is breathable, plastic retains moisture. Soil: Use a high-quality, well-draining mix specific to your plant type (e.g., cactus mix for succulents).
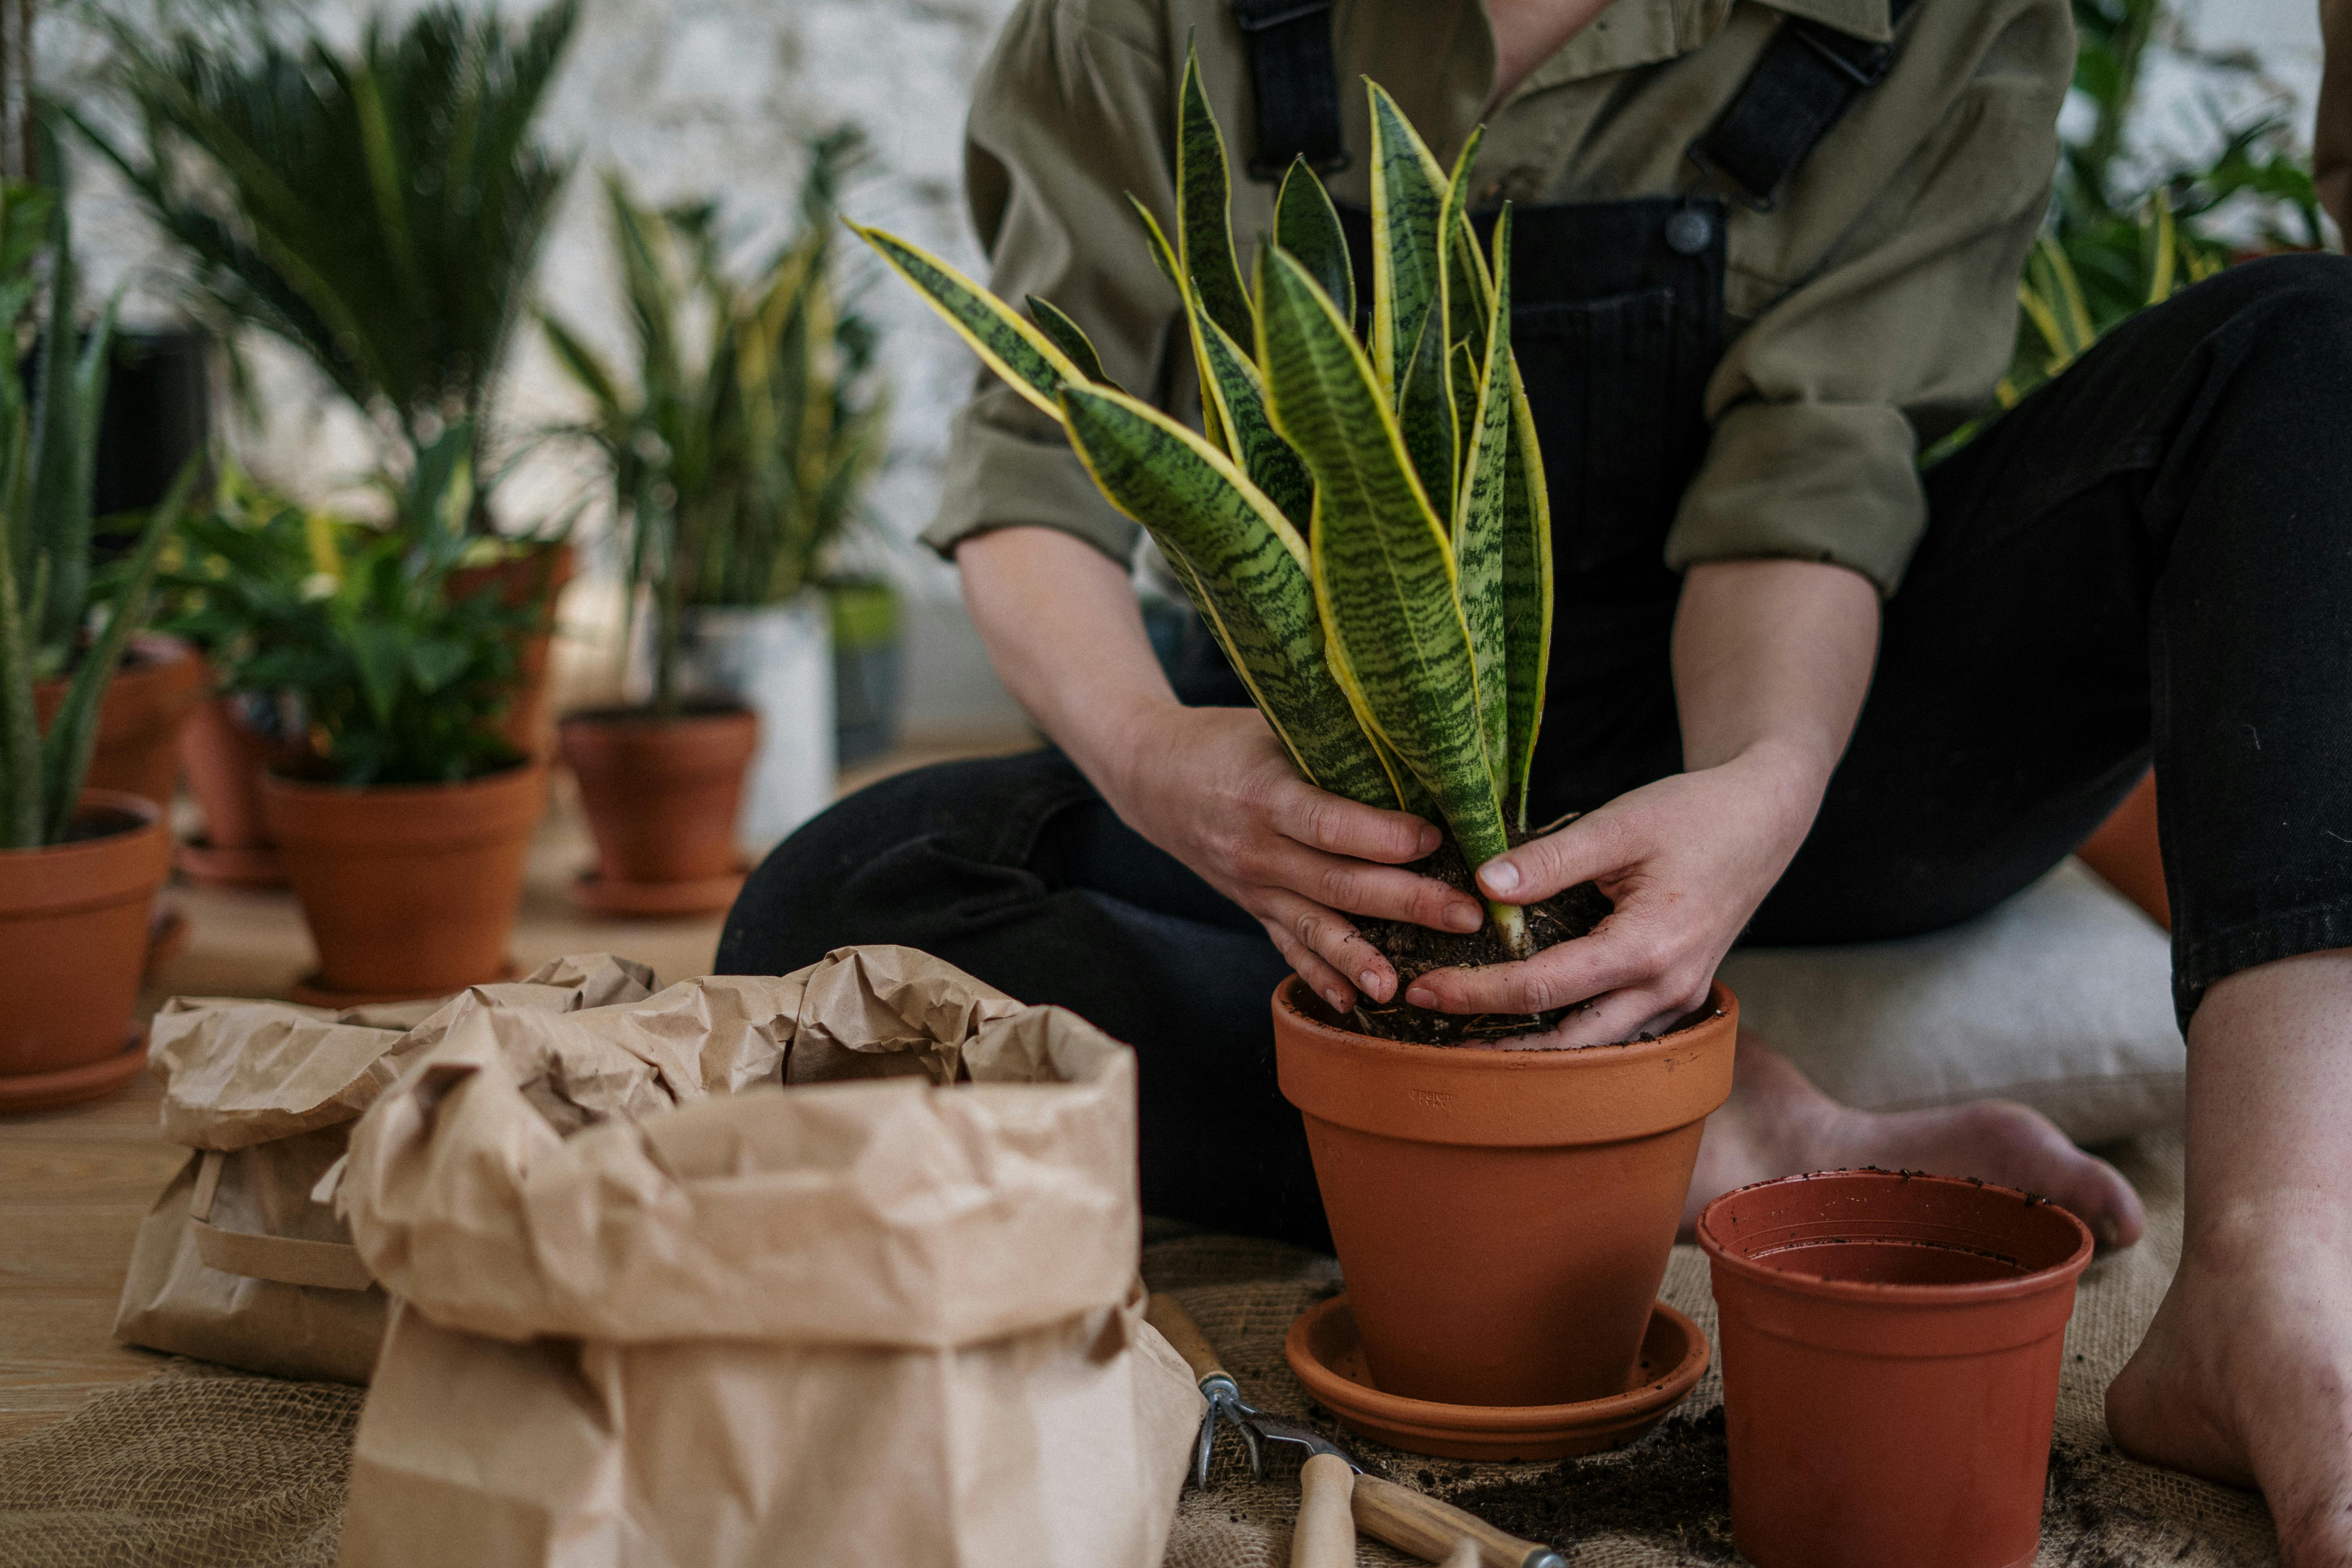
The Step-by-Step Repotting Process
- Water the Plant a day before to reduce transplant shock.
- Prepare the New Pot by adding a layer of fresh potting mix.
- Remove the Plant by gently squeezing the pot and tipping it sideways. Support the base of the plant.
- Loosen the Roots gently with your fingers. Prune any black, mushy, or excessively long roots.
- Position the Plant in the new pot so the top of the root ball sits about an inch below the rim.
- Fill with Soil, tamping gently to remove large air pockets.
- Water Thoroughly to settle the soil. Place in indirect light for 1-2 weeks to recover.
Expert Advice: The University of Illinois Extension advises against fertilizing for 4-6 weeks after repotting to avoid burning new roots.

About the Author
Sage Avery is a plant care writer and home horticulture enthusiast with over seven years of hands-on growing experience across indoor tropicals, companion gardens, and balcony food gardens. Growing in USDA Zone 7, Sage has tested dozens of soil mixes, propagation methods, and companion planting combinations and writes from real results, not just theory. Every guide at Plant Companion Guide is written to help beginners avoid the mistakes that cost plants their lives.